
Fence posts: get the depth right before you build.
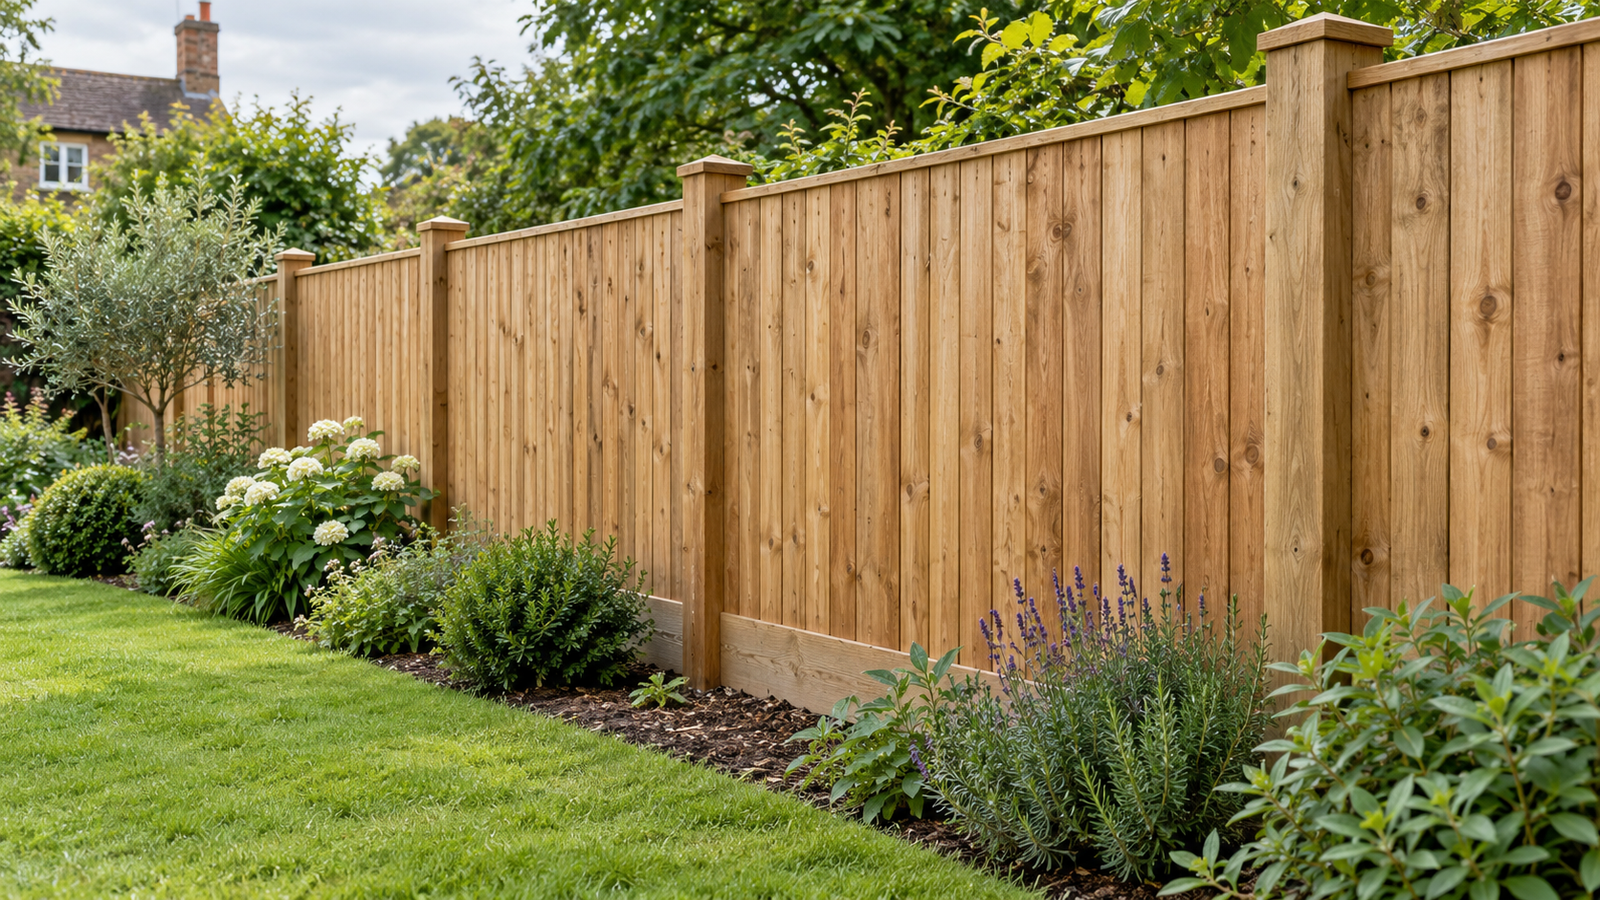
Start below ground.
A neat run of panels is only part of a good fence. The posts and their foundations do the supporting work. Before you buy materials, make a simple plan: the fence system, finished height, ground conditions and any gates.
The right question is not just “how deep?” It is “what foundation does this fence need, in this ground?”
How deep should a fence post go?
600 mm is a common starting point, not a universal specification. Jacksons Fencing recommends a 600 mm hole for its standard example with about 1.83 m of post above ground. Its example uses a 230 mm-wide hole for a 75 mm-wide post.
Use the installation instructions for your chosen fence system. Soft or disturbed ground, exposed sites, taller fencing and gate posts may need a different foundation. Ask the supplier or a competent installer to confirm the dimensions before digging.
Post length is not the same as fence height.
Worked example: 1,800 mm above ground + 600 mm embedded below the finished ground level = 2,400 mm of post.
That is a length calculation, not a site-specific design. If the specified foundation includes a bedding layer below the post, the hole must also allow for that layer. Check the full panel, gravel board and post arrangement before ordering.
Before the spade goes in.
Confirm the boundary position and discuss access with your neighbour. Check any permissions or restrictions that apply to your property before deciding the finished height.
Locate buried services first. Cables and pipes can run through gardens. HSE guidance brings together planning, locating and identifying services, and safe excavation. Plans alone do not confirm an exact location or depth. If the route is uncertain, stop and get competent help before digging.
A practical installation checklist.
- Set out the complete fence. Mark the line, corners and any gate openings. Use the actual panel and post dimensions, including the fixing or slot allowance.
- Check every hole. Measure from finished ground level and follow the specified width and depth. Loose fill or unexpected obstructions are reasons to reassess.
- Use suitable materials. Choose posts specified for their intended ground-contact use and compatible fixings. Follow the supplier’s treatment instructions for any cut timber.
- Keep posts upright. Check alignment and plumb in both directions, and support the posts while the foundation sets.
- Follow the concrete product instructions. Water, mixing method, temperature and setting time vary by product. A quick initial set is not necessarily permission to load the fence immediately.
- Finish with a check. Confirm fixings, panel clearances and gate operation. Check the fence periodically and after strong winds.
When a trade makes sense.
Heavy panels, awkward access, uncertain ground, nearby services or large gates can change a straightforward-looking job. You might take on planning and suitable preparation yourself, then bring in an installer for the parts that need experience or equipment.
Clearly Built can help you understand the work and questions to ask. The decision about what you take on remains yours.